Basketball Stat-tastic — Log of the Final Project, Week 1
Join me on a several week journey putting together a full-stack, pure JavaScript basketball roster app…

Photo by Macau Photo Agency on Unsplash. Ball is life.
I’ve watched my fair share of basketball, especially college. Something trending at all levels of the game is to keep an extensive number of stats, even in practice. And not just the traditional ones, like points, rebounds, or assists: we’re talking deflections, assist opportunities, screen assists, box outs, fast breaks… the list is endless and ever-evolving.
So here’s the thrust of my full-stack app idea: make an app that not only lets you keep track of a roster, but also lets you add custom stats, roles, and info that might help inform a decision on playing time, or affect lineups. Make it simple and robust for adding, editing, and removing both players and stats at will. Not only that, go a step beyond and be able to sort the roster by those categories for comparison.
This is the goal of Basketball Stat-tastic.
Week 1 Progress Report
Adam’s blog, Earth date 11/8/2020.
The first objective of this week was to take a closer look at the basic database design. My initial inclination was to jump right into the familiar waters of mongoose, MongoDB, and Express, but before that became cemented in, I wanted to do a bit more due diligence on other database types I’d recently been introduced to: GraphQL and Netlify’s serverless backend.
That said, I still ended up sticking with MongoDB.
The ease of access in a GraphQL was impressive, and it seemed relatively simple to get setup once you overcame the initial grammar learning curve. But looking at its design, it felt like it wouldn’t be flexible enough for this app’s purpose: constantly adding, removing, and updating stat categories for an entire roster.
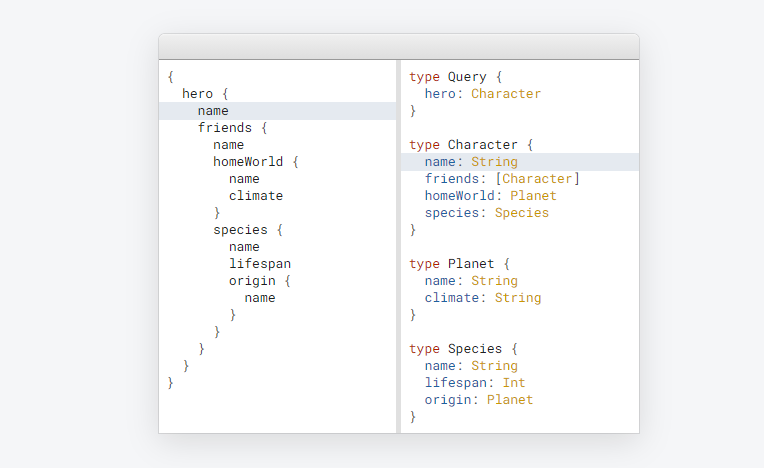
Ooo, so clean… from GraphQL.org
On the other hand, going serverless looked pretty tempting. Just writing a bunch of fuction.js files to do your server dirty work has its allure, where “functions become endpoints, automatically.” My main hesitation here was documentation: since this would be my first venture into Netlify’s relatively new pseudo-backend, I was afraid that there wouldn’t be terribly much out there beside’s Netlify’s own limited (but well appointed) docs if I (inevitably) ran into trouble.
And so it was not entirely laziness time constraint that lead me down to chase that familiar mongoose. Still, have to put a pin in and try that serverless stuff in the future….
Routes at work
Once I’d reaffirmed my initial server plan, I decided to work from the back end forward. I had my design sketches to work from for a basic idea of what I’d need to architect for the front end, and I liked the idea of getting my server ironed out before I start moving data from it around, and have actual test cases for my app’s business end to cut its teeth on.
Initial setup required the basic rigmarole (yes, I had to look up how that was spelled) of setting up a new MongoDB cluster, importing needed dependencies (express, mongoose, body parser, dotenv, etc), and getting the server ready for heroku hosting by whitelisting the right IP addresses, and copying the Config Vars into heroku. And the basic server communication worked great! …once I had the correct password in my environmental variable. Yay!

When all else fails, use the right password. Photo by Matthew Brodeur on Unsplash.
The next portion of design was a bit trickier. I saw almost immediately that my schema and endpoints for basic POST methods needed to be a bit more ambitious than examples I’d done previously. Not only was there a fat stack of initial statistical categories and their data type to account for, but I wanted a number of defaults in case a well-meaning but less technically proficient basketball coach just didn’t put everything in, or put it in wrong, and default functions that would automatically calculate things like points per game and field goal percentage, because less math for everyone = yay!
let Stats = new Schema({
    player: {type: Schema.Types.ObjectId, ref: 'Player'},
    minutes: Number,
    gp: Number,
    points: Number,
    fga: Number,
    fgm: Number,
    fta: Number,
    ftm: Number,
    assists: Number,
    steals: Number,
    blocks: Number,
    fouls: Number,
    tos: Number,
    off: Number,
    def: Number,
    reb: {type: Number, default: function() {return this.off + this.def}},
    ppg: {type: Number, default: function() {return this.points / this.gp}},
    apg: {type: Number, default: function() {return this.assists / this.gp}},
    rpg: {type: Number, default: function() {return this.reb / this.gp}},
    spg: {type: Number, default: function() {return this.steals / this.gp}},
    bpg: {type: Number, default: function() {return this.blocks / this.gp}},
    fgam: {type: String, default: function() {return `${this.fgm} - ${this.fga}`}},

  });
Yeah… that’s just a tad more variables to juggle than previous schema I’d worked on. Those usually required about a grand total of three.
Finally, I of course wanted to get a basic populate going for when both Stat and Player routes were called, so they could talk to each other. Of the initial objectives, this was the rockiest, and requires further attention to get ironed out. Once done, however, adding the remaining routes for modifying and deleting stats and player info should be relatively smooth.
Looking Ahead
In the coming week, unless routing meets with some unforeseen disaster (which I could totally see happening), I’ll start logic-ing out the front end: setting up the look of my main roster and add/edit player pages, and then building the flexibility of changing between inputs and paragraph depending on the press of an edit button.
Doubtlessly, I’ll have to return to my back end to add in an additional route or two at some point down the line, but that’s the advantage of full stacking this myself: I can.
More in the coming weeks.